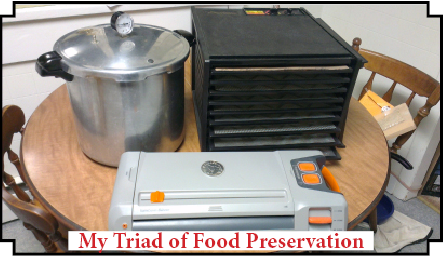
No matter if you’re a homesteader, farmer, or prepper; food preservation is an important topic and one that can be hotly debated. So many claim their way is the ‘right way.’ If you have been following along with me for any length of time, you know I never claim an “Expert Level” on anything. I’m stumbling along with the rest of you! I certainly have learned some tricks along the way and found what I affectionately call my “Triad of Food Preservation Equipment”. So grab some dehydrated banana chips and sit back, this is going to be a long one!
It began with my vacuum sealer. I got my first one about 6 years ago or so. I had noticed that twice a year, the local stores had major meat sales. Living on an island in Alaska means that everything is shipped in whether by barge or ferry or flight. The shipping adds considerable costs to the end price so anything one can do to save on food is a special plus here. I got a cheaper model of the Seal-A-Meal brand sealer. I only used it for the meats and while some would say I am making food cost more by repackaging it, I knew better. I knew that I would end up throwing only one pack in 50 away from freezer burn. That old beast finally gave up the ghost and I knew I had to have another one, a better one. Something that could really take a beating. I saved up my pennies and ended up with the Foodsaver – Game Saver Silver model. While I could go on about how awesome it is, I will focus more on what I do with it.

Gone are the days of only sealing meats! I still shop twice a year and get literally 100+ pounds of meats each time that all end up being sealed and stashed in the chest freezer to keep us for 6 months or so. The OTHER things I do with my vacuum sealer now is what really got me thinking outside the box. I ordered the attachments for sealing jars (both regular mouth and wide mouth) and instantly saw not only the value of them, I also started to see the possibilities of being able to seal dry goods in jars. And it isn’t just food, either! I have sealed up nuts and bolts that were going to be kept in storage right next to the water. I have sealed up little kits with some first aid and fishing gear, space blankets and other little items into a “survival kit.” I know, I know…you’re likely asking “Why the heck would you do that when you can just buy kits that are smaller and lighter!?” Here is my answer: I live in a rain forest on an island in a coastal community. You absolutely never get away from moisture. A vacuum sealed jar will not only keep everything completely dry, you could bury them (think bug out route cache) and the stuff inside is still good. On top of that, you can boil water in the jar and close it up for later. Yup, I know this may be a little ‘out there’ for some of you however; I am trying to get you to see the multiple uses for a vacuum sealer. Sealing dried goods brings me to my next item in the Triad.

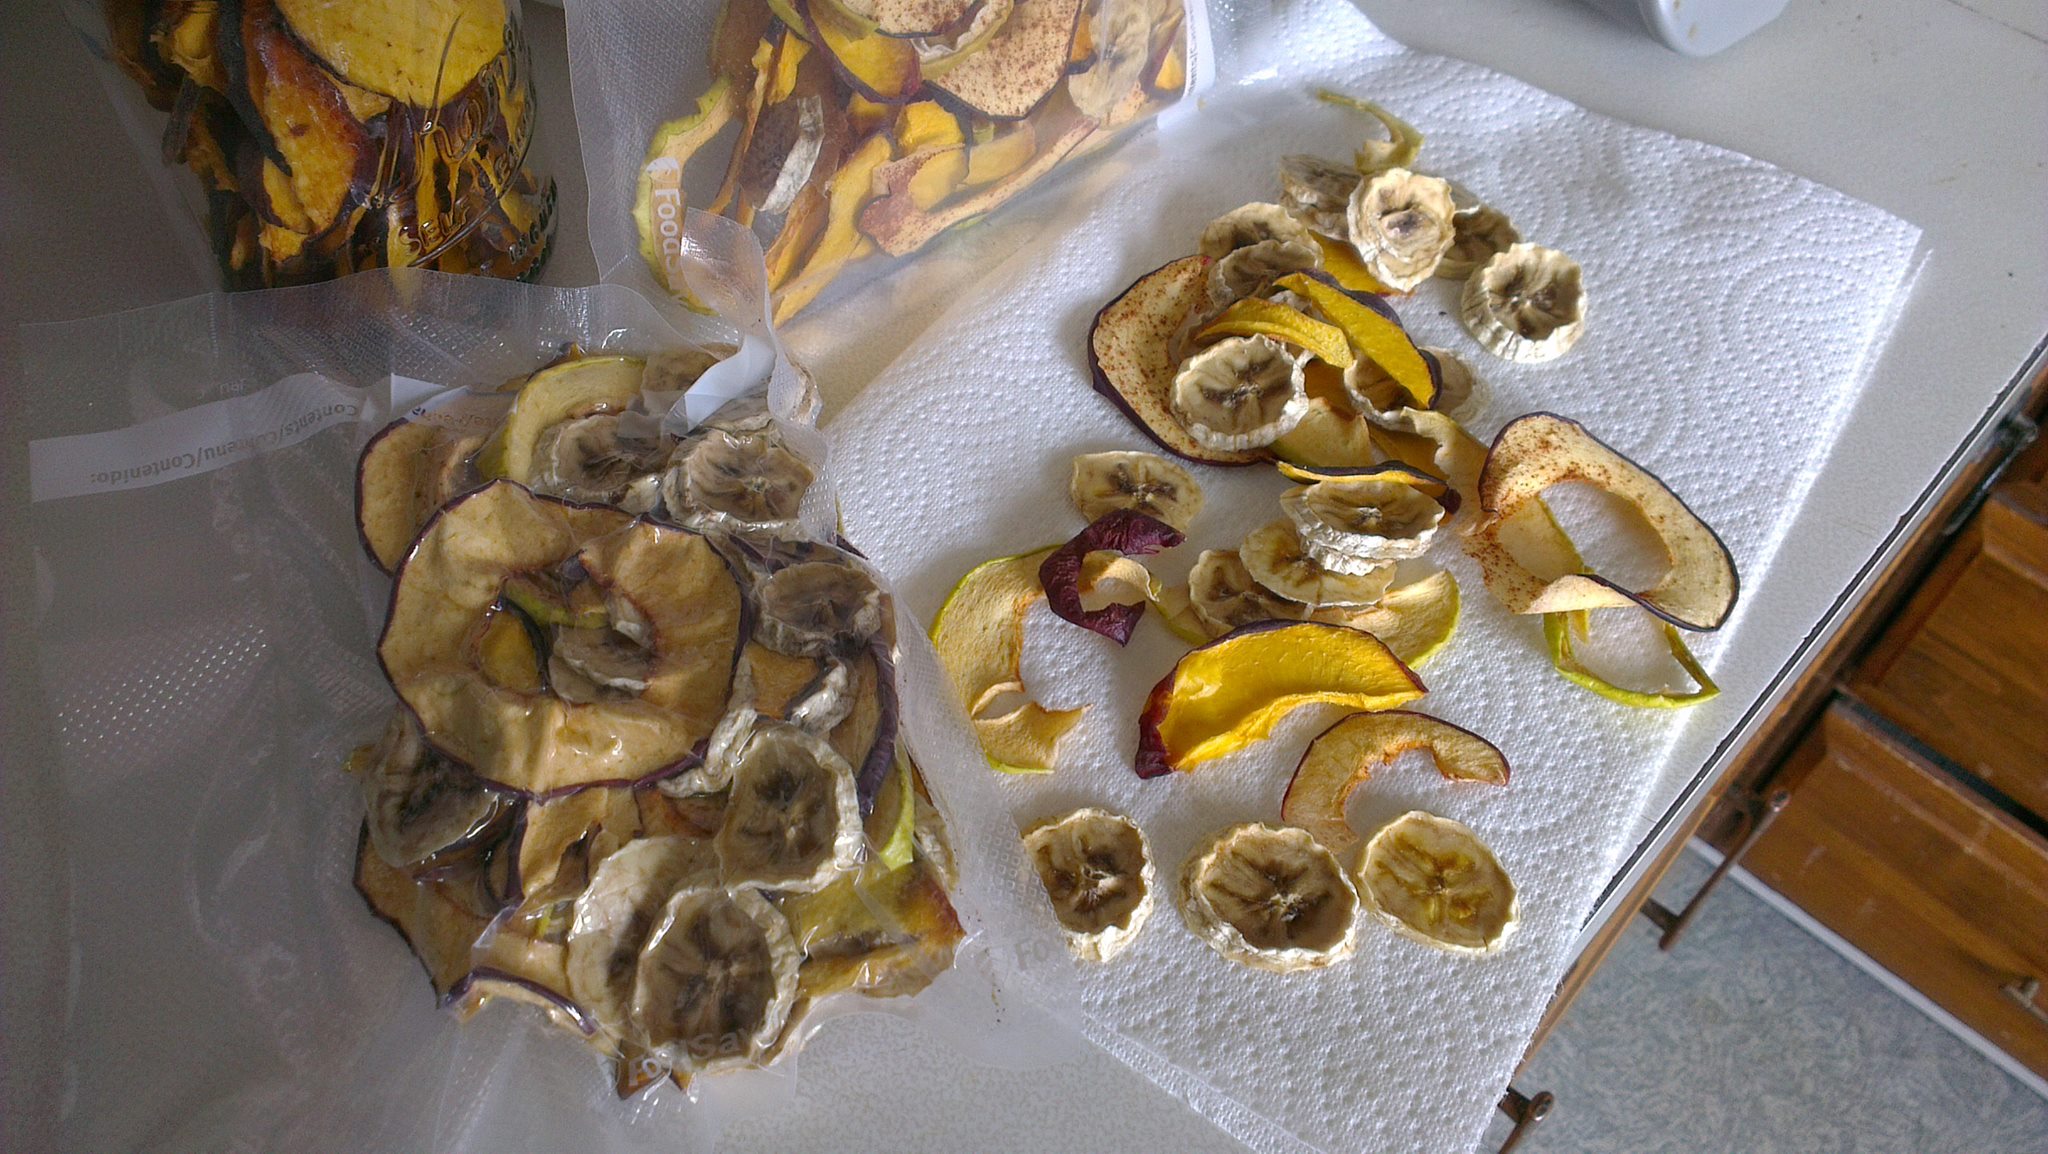
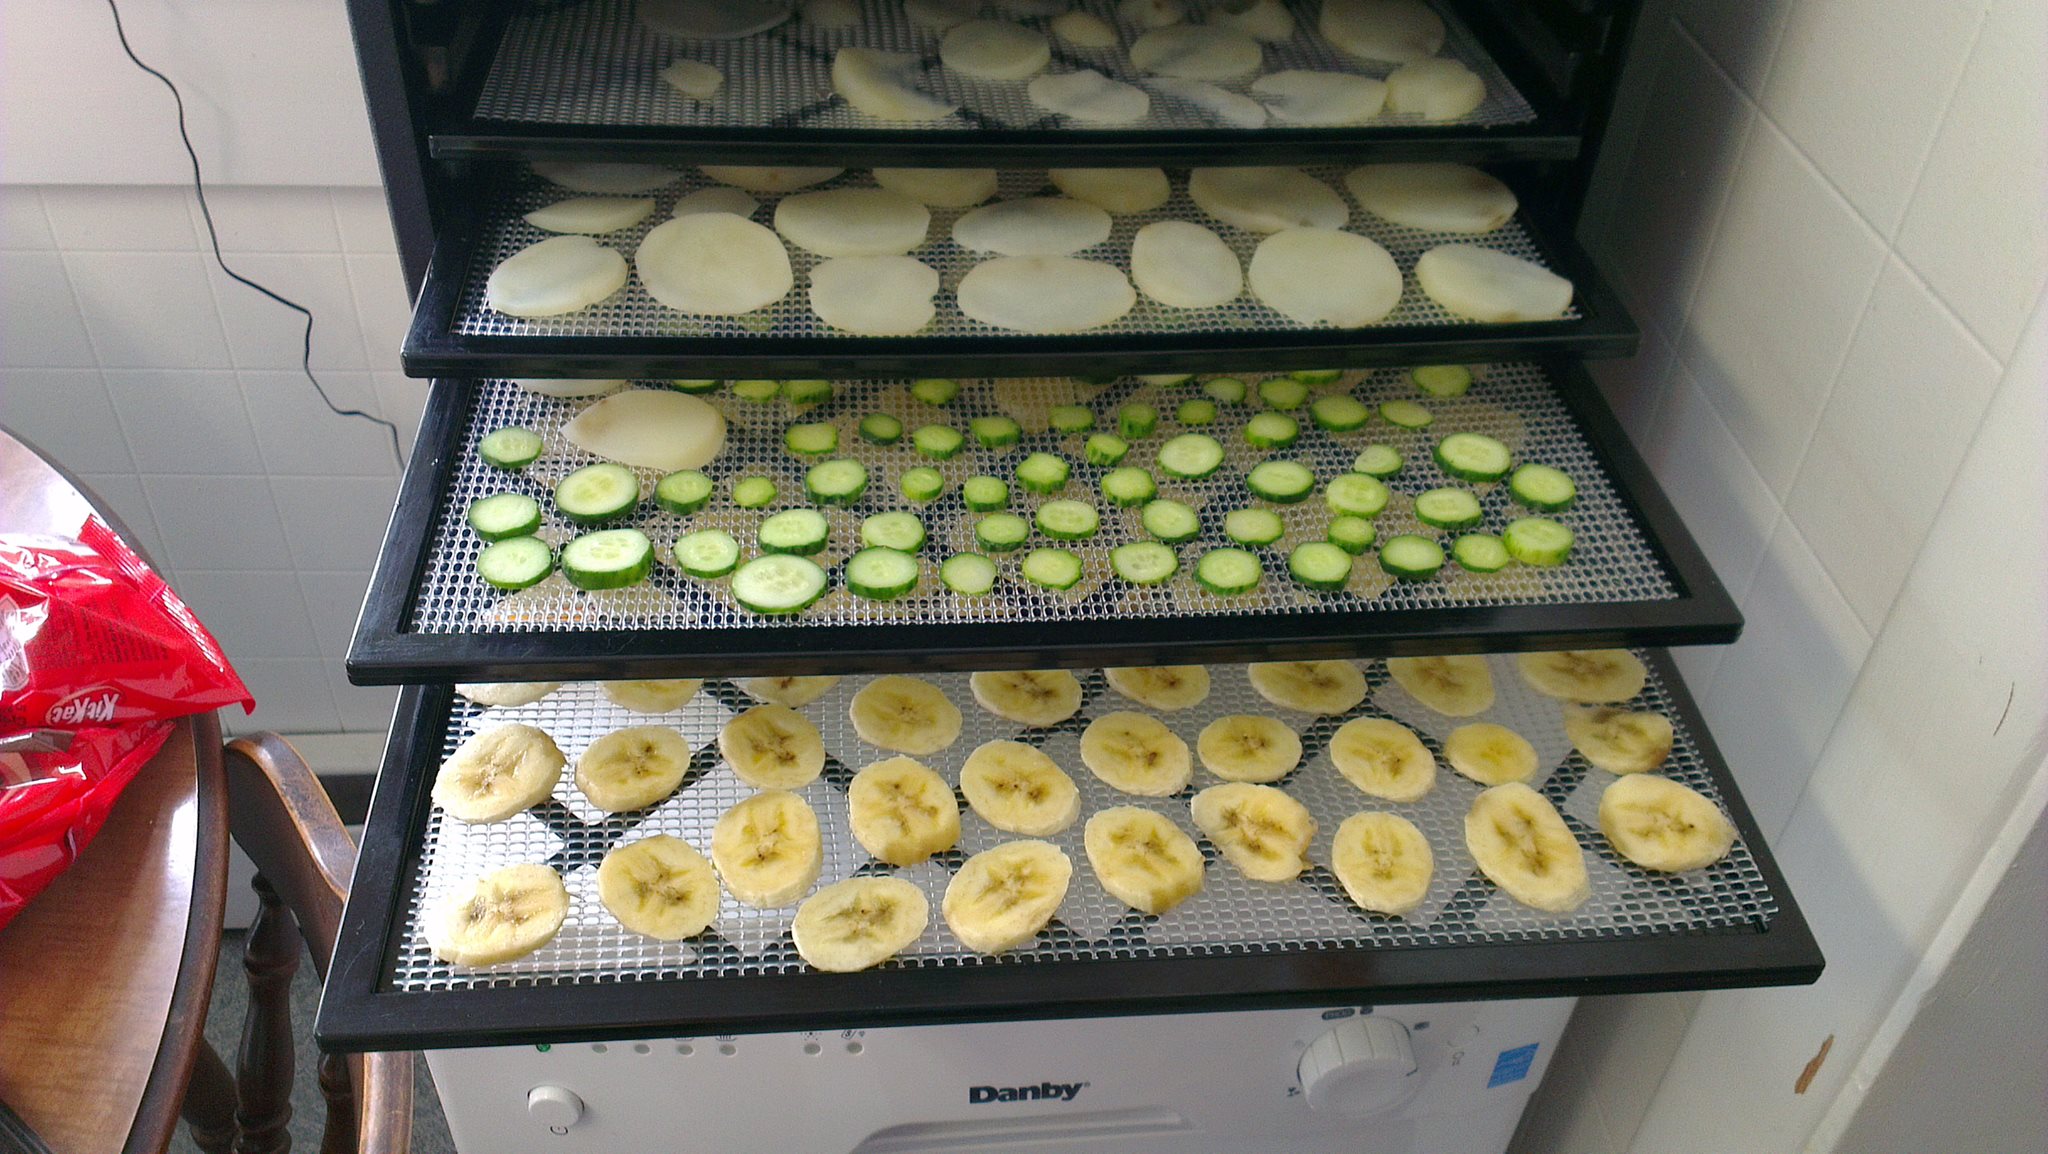
I have literally hugged my dehydrator and said “I love you dehydrator!” without shame. The things I have done with this piece of equipment blows me away and there is still so much to be discovered! I bought the Excalibur 9 Tray model. It is a spendy bugger, no two ways about it. I budgeted tightly for 4 months and have never regretted it once. I did literal hours of research, trying to find the one with the best reviews over long-term use because I meant to put it through its paces! I got it about 2 years ago because I wanted other options for preserving food (and making jerky). I have dehydrated vegetables, fruits, meats, and raised bread dough in it. You can use it to do other things like make yogurt and even use it as an incubator to hatch chicks! Dehydrating food and then sealing it in bags or jars means that your food is now protected from 4/5 Enemies of Food Storage: air, moisture, heat, and pests. (Light is the 5th enemy of food storage.) I said before I wanted more options for preserving food. I should have clarified that I wanted more options for storing food that did not require refrigeration and will store for years. The vacuum sealer and dehydrator combination is magical.

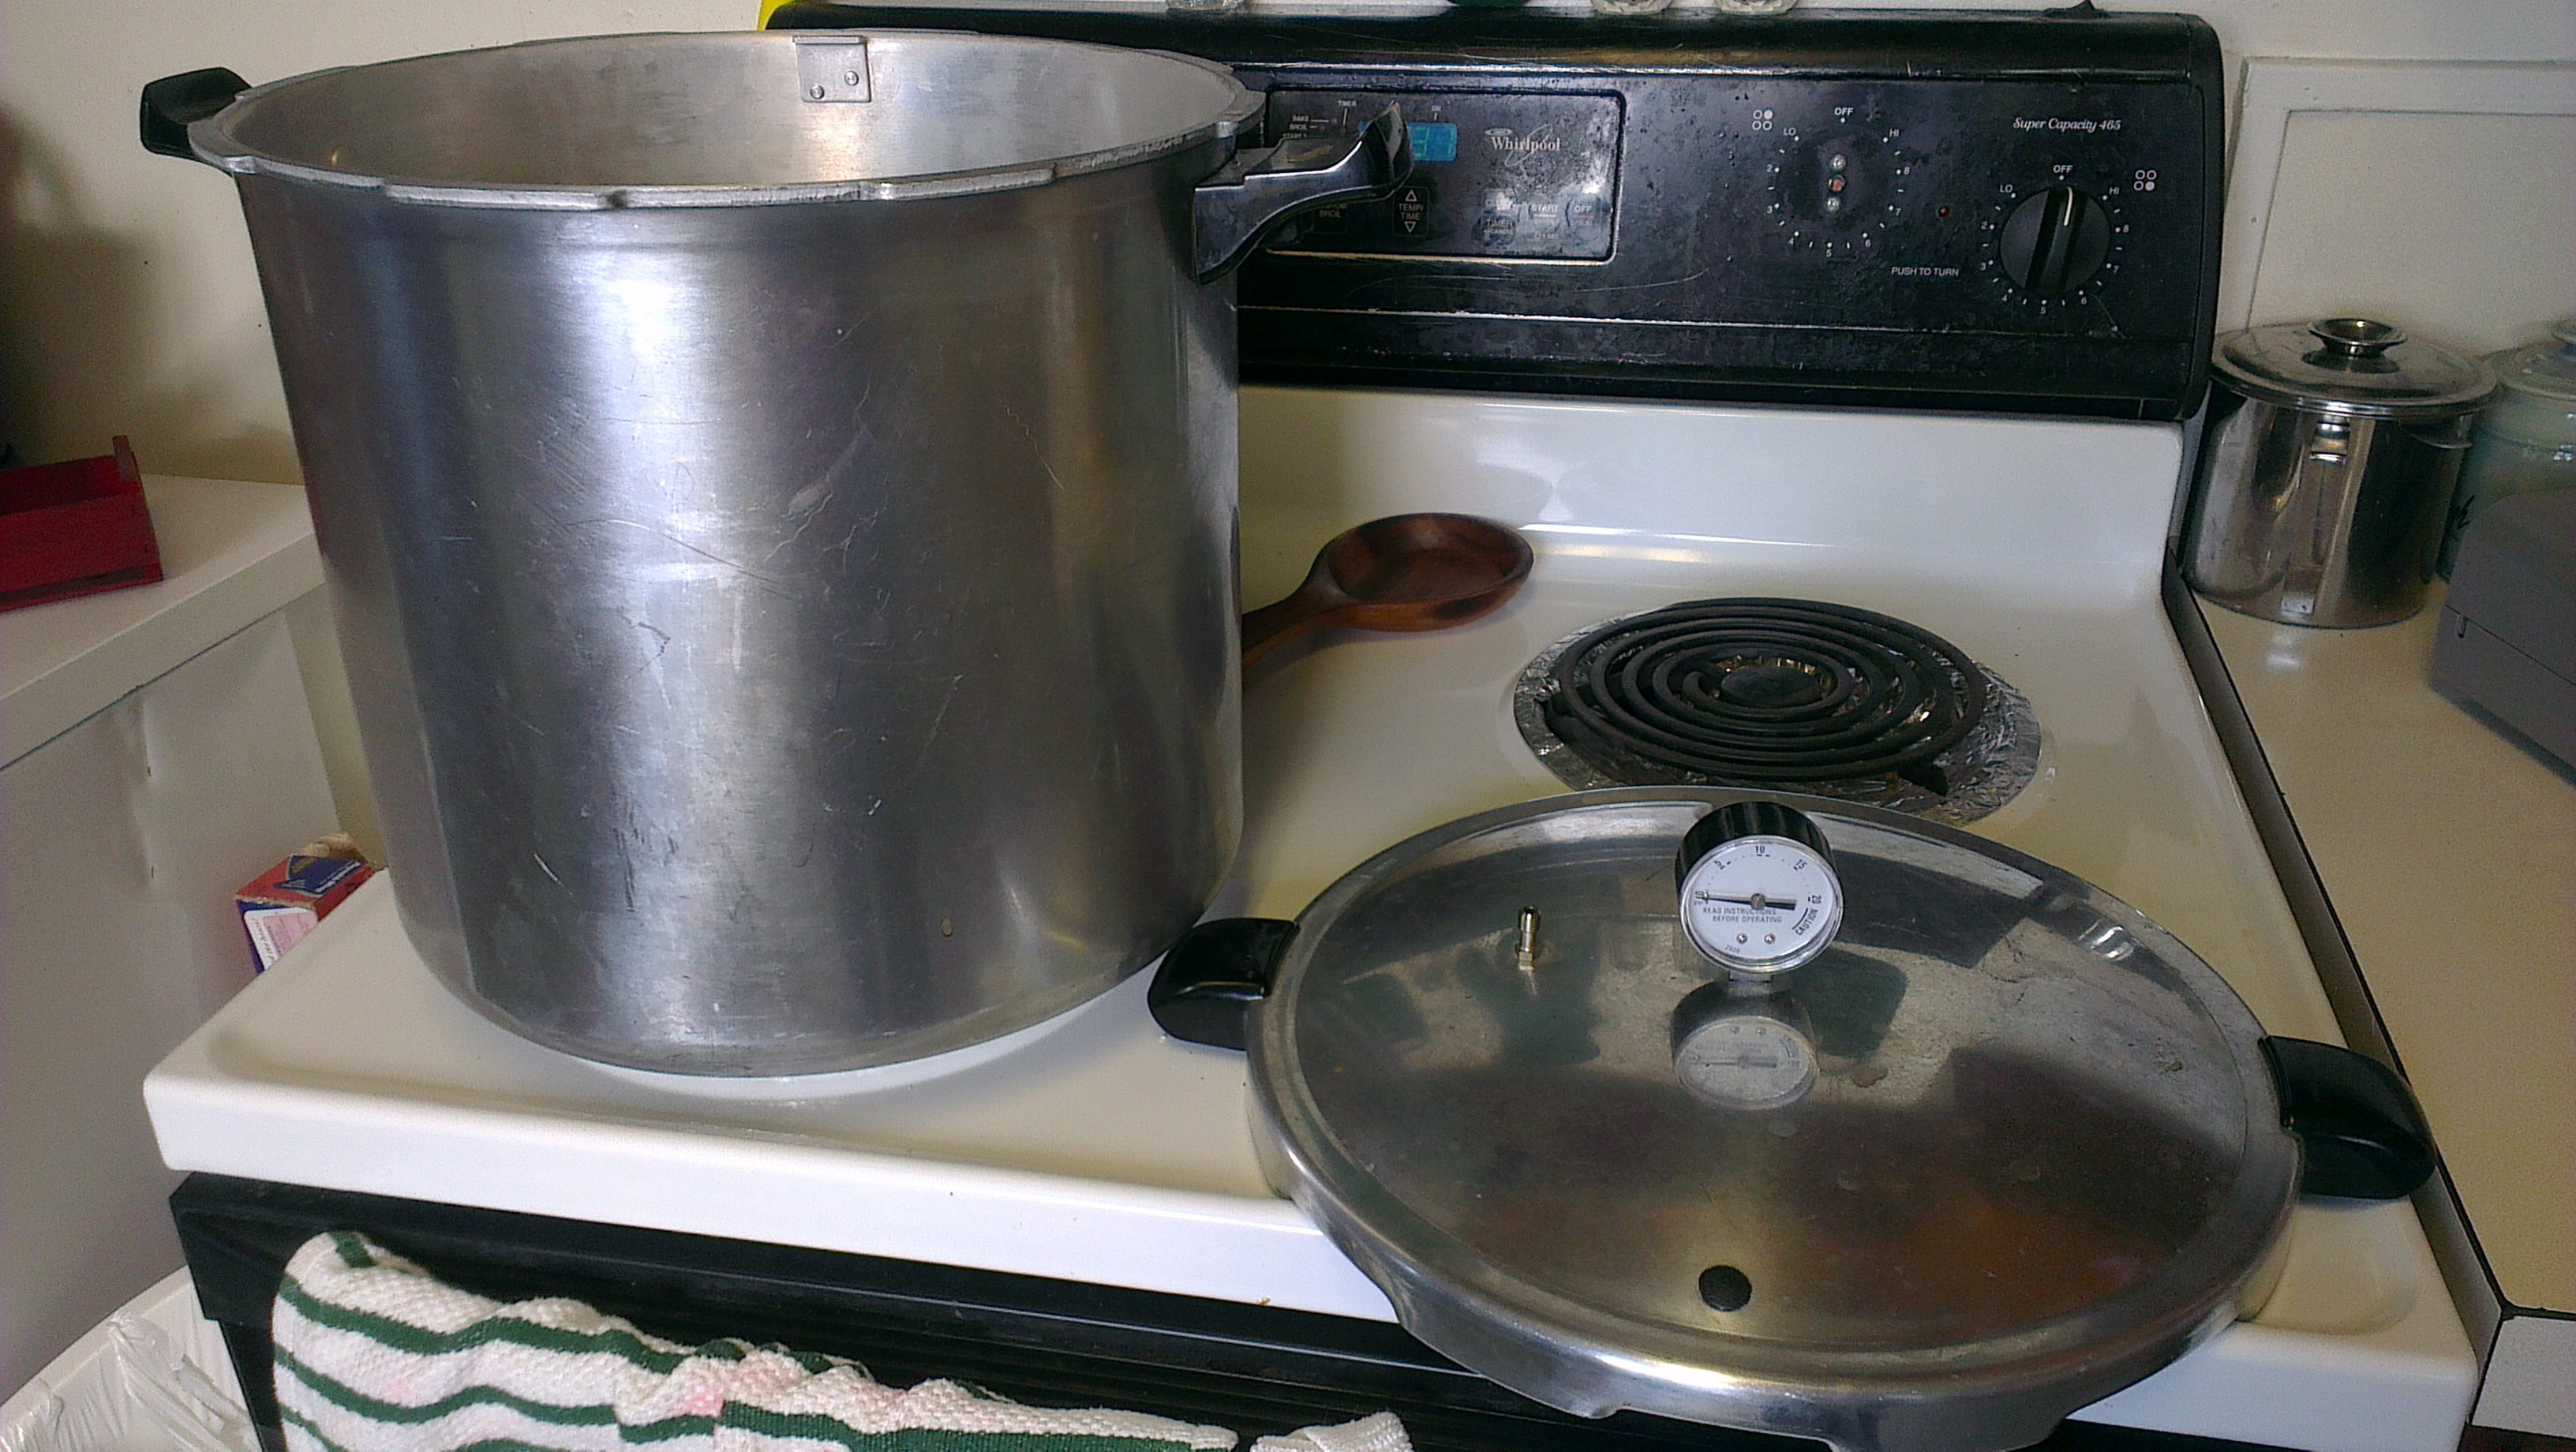
Lastly, we come to the pressure canner. I also researched the reviews and ended up with the Presto 23 Qt pressure canner/cooker. Yeah, this one was a little more expensive too but there is my line of thinking on that: I spent months saving the money for these items which made me appreciate them more. They are reliable, proven models that will serve me and my family for years to come. I have used them so much since I bought them that I feel they have already paid for themselves. So, back to the pressure canner.
I chose this model because it was touted as good for beginners and veterans alike on multiple sites. It was larger so I could stack pints and half pints with ease. It holds 7 quarts at once! It is also not so huge that when filled I would have a problem moving it off the burner, a serious plus. As far as I am concerned, the pressure canner paid itself off at the end of the gardening season. As I type this, I am eating a dinner with green beans that I grew from a seed, harvested, and jarred up. Nothing was wasted (scraps were turned into stock and the plants composted!) and here I am 7 months later, eating tasty green beans. I actually know absolutely everything about these green beans from the time the seed was planted until I eat it. I haven’t bought any jams or jellies in a year. I jar up beef, chicken, and pork too! It tastes far superior to any other ‘canned meat’ I have eaten from a store. Taking advantage of sales makes it even more cost-effective. Other ways this combination can be used and save you money:

Example #1: You have grown food in your garden and it is harvest and processing time. You jar up a good portion of it, perhaps freeze some, and of course eat and give away a bit but you still have plenty. Dehydrate it! One of the things I like to do is to take carrots, onions, and potatoes that have been dehydrated and layer them in a quart jar. Add dry spices and herbs to it (and any other veggies you have dehydrated). Then vacuum seal it and POOF! You have the makings of a stew or vegetable soup. Add in a jar of canned beef and there you have it. A whole meal that only takes a little water for the veggies to soak in (well plus the broth in the canned beef) and that is enough food for at least 3 adults. You pulled nothing out of the fridge, you know how the food was processed, and it is ready in an hour or less.
Example #2: You find an absolutely amazing deal on some fruits or veggies. You go crazy and buy up a bunch to jar up or dehydrate. You realize that you bought too much and wonder what to do with the rest? Vacuum seal it and freeze it! Dehydrate the rest and seal it in a bag or jar! Got fruit? Make a jam or jelly, or even some fruit leather. Multiple storage methods means less waste, more money saved, and more control over your food!
There you have it. I could go into greater detail on any of these items and welcome questions either here or on my Facebook page and I will happily respond. I am still learning everyday and constantly think of new ways to utilize these tools to better our food situation and keep money back in our pocket. I consider them investments, not only in food preservation equipment but (most importantly) in the skills I have learned along with the use of them. Many people look at all of this and say it is a lot of work and they are right. It IS WORK. But oh-so-wonderful and rewarding work. It is taking out the big company’s place in the food chain. To be clear: I am not some over the top anti-government type. But I am a person who feels strongly in being able to provide for myself and that takes skills that most people just do not have. The journey so far is more rewarding than I can describe. It must be experienced instead…otherwise I just sound like I am spouting off a bunch of cliches’. 😉
~HD
Post may contain affiliate links.


I dig the Triad – you make a great case for how the items work so well together. Much of what you say reads like fun reference material. Keep dreamin’!
KP
Thanks Kory! 🙂